
使用 GitHub Actions 自动发布 Hexo 博客
目录
好久没写博客了,准确来说,好久没发布博客了,写了一些,但是由于电脑环境的变化,之前的的环境都找不到了,再弄的话又挺麻烦。之前就想着要切换到 GitHub Actions 自动发布,自己只管写 markdown。趁着这次机会,有了一些集中的时间,来把这个事情搞定。
在本篇文章中,我将分享如何利用 GitHub Actions 实现自动发布 Hexo 博客。这将极大地简化发布博客的流程,让你专注于内容创作,而无需手动部署。以下是具体步骤及可能遇到的问题和解决方案。
本地调试
在将 GitHub Actions 配置上线之前,建议在本地进行调试,确保你可以在本地正常生成和部署页面。可以开个 docker 来模拟环境。
设置 GitHub Action
注意下面的 action 可能会有更新版本,你写的时候可以查看下相关 action 的最新版本。
下文中 dev 仓库指你的博客源代码所在仓库,一般是私有的。prd 仓库指你的静态页面所在仓库,一般是公开的,名字叫 <username>.github.io 。
设置密钥
为了确保 GitHub Actions 能够推送代码到目标仓库,需要在 GitHub 仓库的设置中添加密钥。
首先在你本机生成密钥对:
1 | ssh-keygen -f github-deploy-key |
一路回车下去,当前目录下就会生成 github-deploy-key 和 github-deploy-key.pub 。
然后来设置 dev 和 prd 仓库。
- 对于 dev 仓库:进入仓库页面 → Settings → Secrets and variables → actions → New repository secret,Name 填
HEXO_DEPLOY_PRI,Secret 填github-deploy-key的内容。
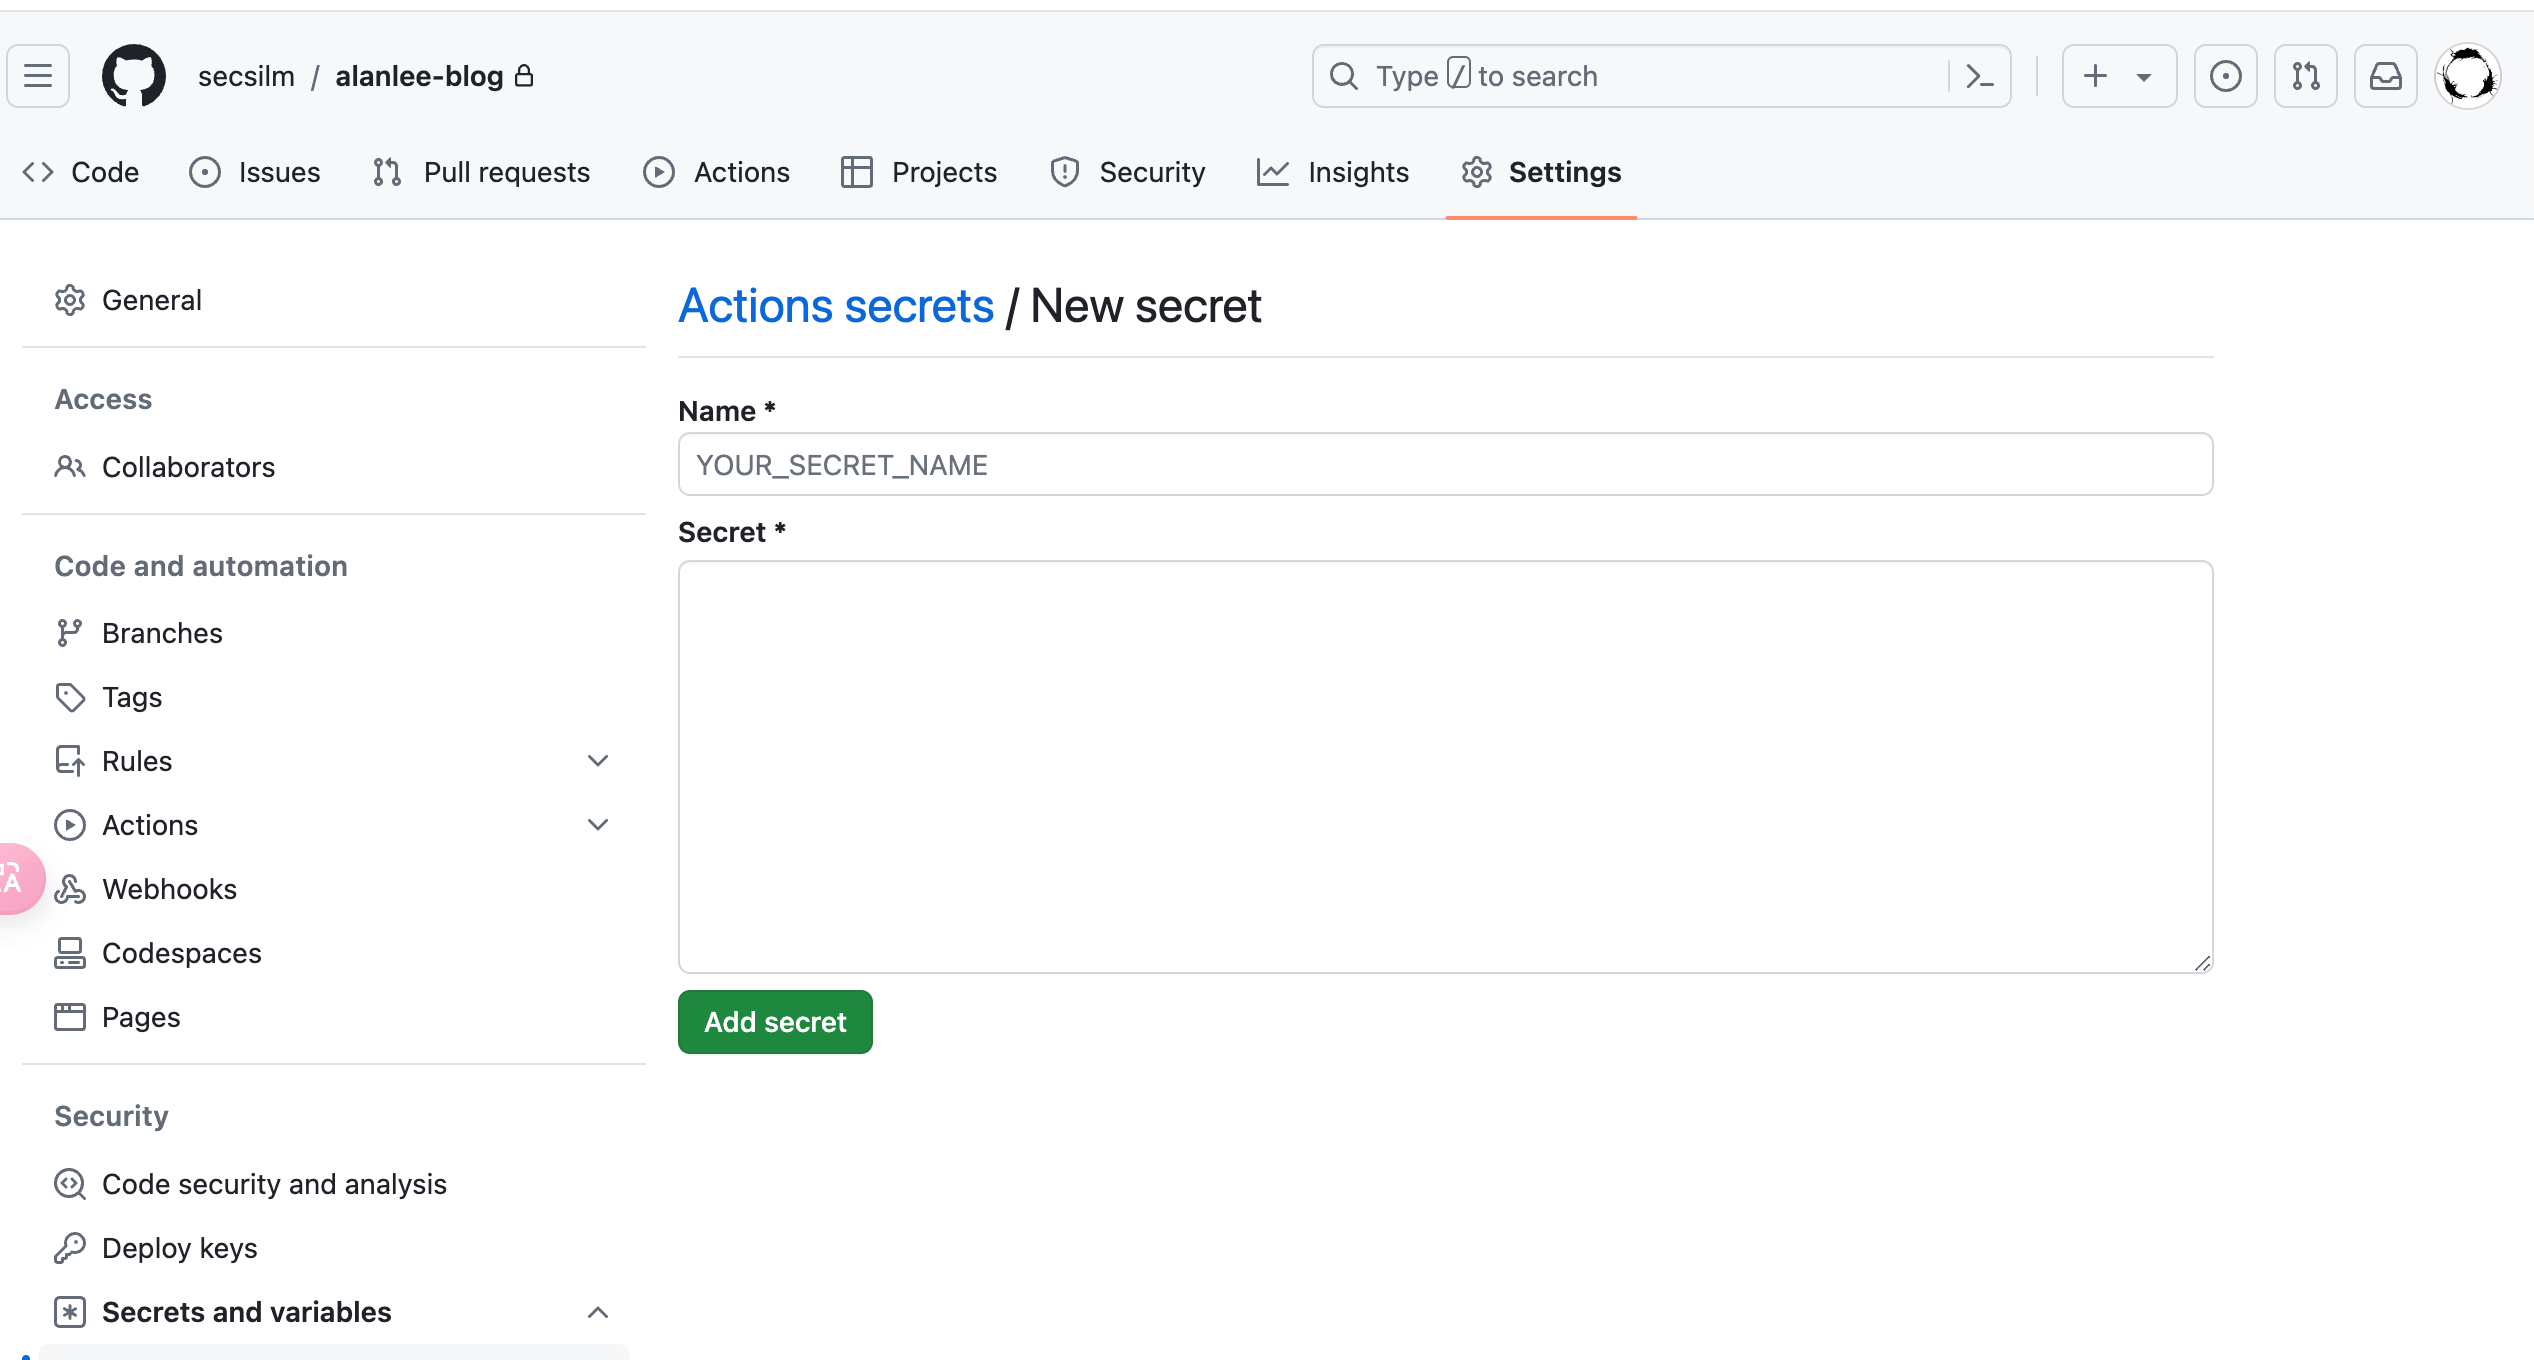 dev 仓库设置。
- 对于 prd 仓库:进入仓库页面 → Settings → Deploy keys → Add deploy key,Title 填
HEXO_DEPLOY_PUB,Key 填github-deploy-key.pub的内容。
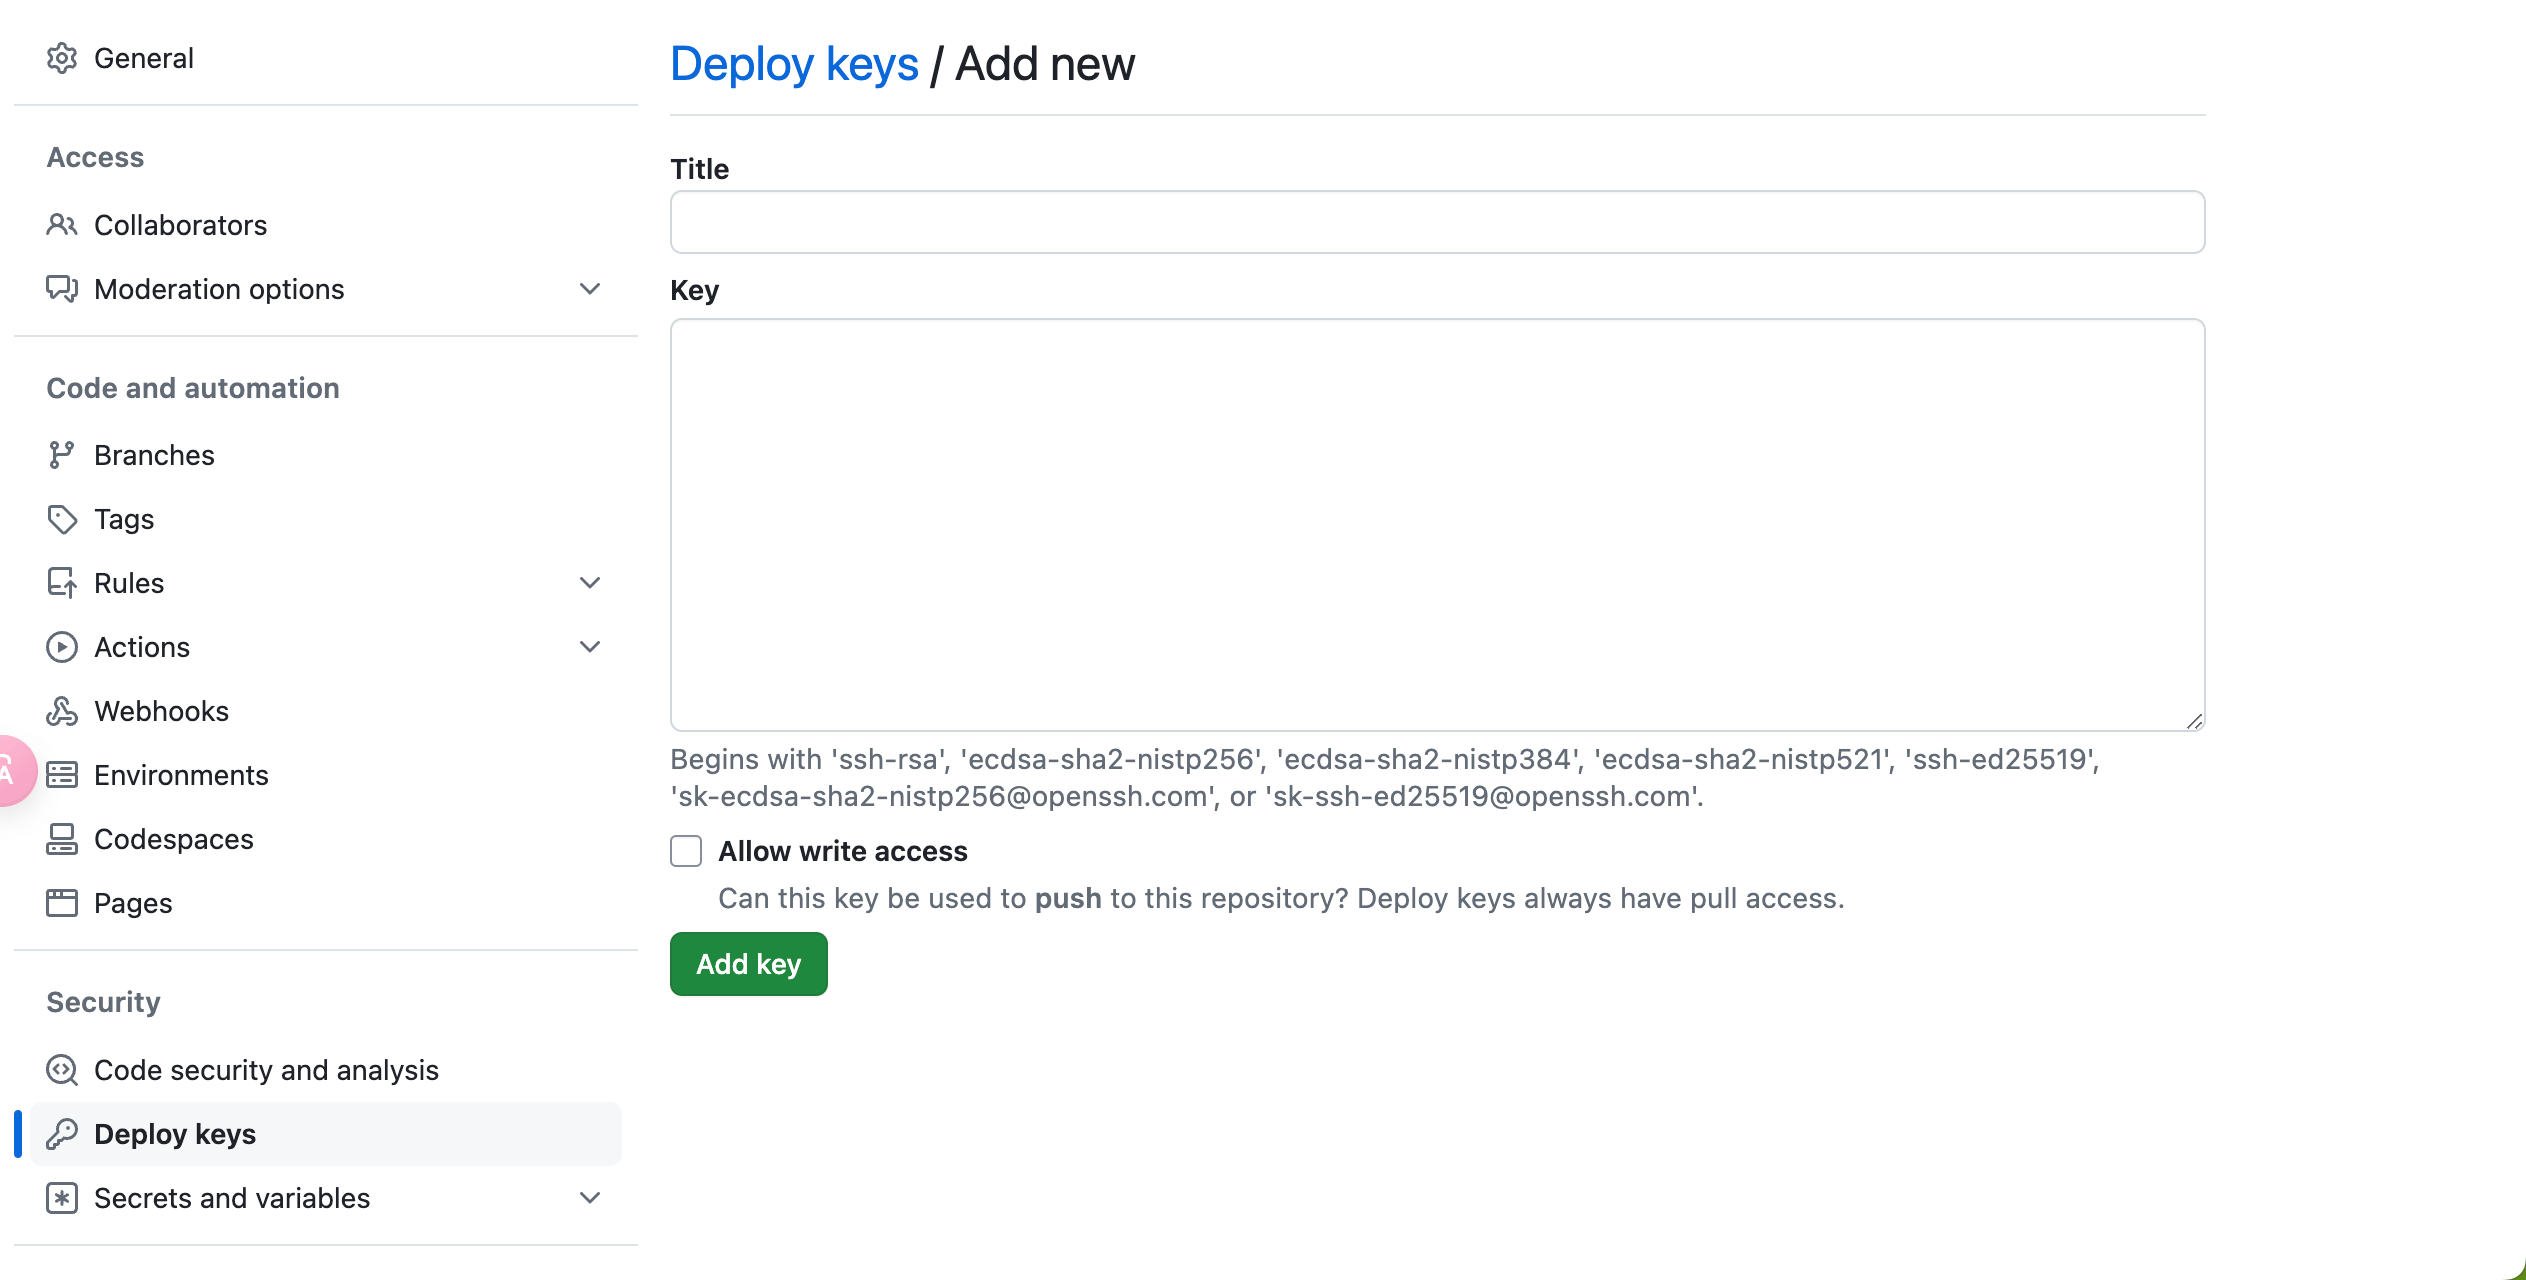 prd 仓库设置。
GitHub Action 配置文件拆解
我先分段讲下流程,最后再给出完整的配置文件。
设置触发条件
当你将更改推送到 dev repo 时,会触发 GitHub Actions 进行自动部署。确保此处正确配置为你希望触发的分支:
1 | on: |
配置 runner 镜像和 node 版本
这里我们使用 ubuntu 镜像,node 版本为 20.x :
1 | runs-on: ubuntu-latest |
Pull dev 仓库
我们需要拉取代码以进行 build,在 GitHub Actions 中,这一步通常由 actions/checkout 完成:
1 | - uses: actions/checkout@v4 |
配置环境
设置 Node.js 和 git 环境:
1 | - name: Use Node.js ${{ matrix.node-version }} |
- 设置时区很重要。平常我们在自己电脑上部署都是 GMT+8 时区,但是执行 GitHub action 的 runner 在美国,可不是这个时区,所以我们要改下时区,否则如果你的博文地址是
年/月/日这种形式的话,可能会出现有些博文访问不了的问题。 SSH 密钥。你也可以选择使用 PAT(Personal Access Token)来进行验证。我看大多数都是用 ssh 进行提交。注意如果你选择 ssh,而之前你部署的时候使用的是 http,那么你需要修改 dev 目录下
_config.yml中的deploy字段中的repo,改为 ssh 地址,即:1
2
3
4
5
6
7
8
9
10
11# 原来是:
deploy:
type: git
repo: https://github.com/secsilm/secsilm.github.io.git
branch: master
# 应改为:
deploy:
type: git
repo: [email protected]:secsilm/secsilm.github.io.git
branch: masterssh 地址可以在你 prd 仓库的 clone 那里找到。
安装依赖
安装 Hexo 和主题所需的依赖项:
1 | - name: Install dependencies |
这一步安装了 Hexo CLI 和项目的依赖项,并构建了主题。构建主题这步我发现其他人都没有,但是我这里如果没有的话就会报错,我用的是 tranquilpeak 主题,可能跟这个主题会动态生成 css 文件有关?node 我也不太懂。
另外我上面使用的 npm ci 而不是 npm i ,主要区别在于前者会严格根据 package-lock.json 中的版本安装包,避免潜在的版本依赖问题。
Hexo 部署
这一步包括生成静态文件并将其推送到 prd 仓库:
1 | - name: Deploy hexo |
这步我看有些人用的是第三方的 action,你感兴趣的话也可以找找看。
完整的 GitHub Actions 配置文件
以下是完整的 GitHub Actions 配置文件,将这个完整的配置文件保存到 dev 仓库下的 .github/workflows/deploy.yml 即可:
1 | name: Deploy hexo blog |
测试
你可以进行一次更改提交,看看 action 是否正常执行。你可以在 GitHub Actions 页面查看每次运行的日志。
一切正常的话,你就可以舍弃你的本地环境,直接在 _posts 目录下新建或上传博文 markdown 文件,提交,然后就等着你的新博文发布吧!我的这篇博文就是第一篇通过 action 发布的博文!🎉🎉🎉
GitHub Actions 的免费额度为每月 2000 分钟,runner 可用内存为 500 MB,具体见这里。你可以点击你的头像 -> Settings -> Billing and plans -> Plans and usage 页面中的 Usage this month 部分看到你当前已使用的分钟数。
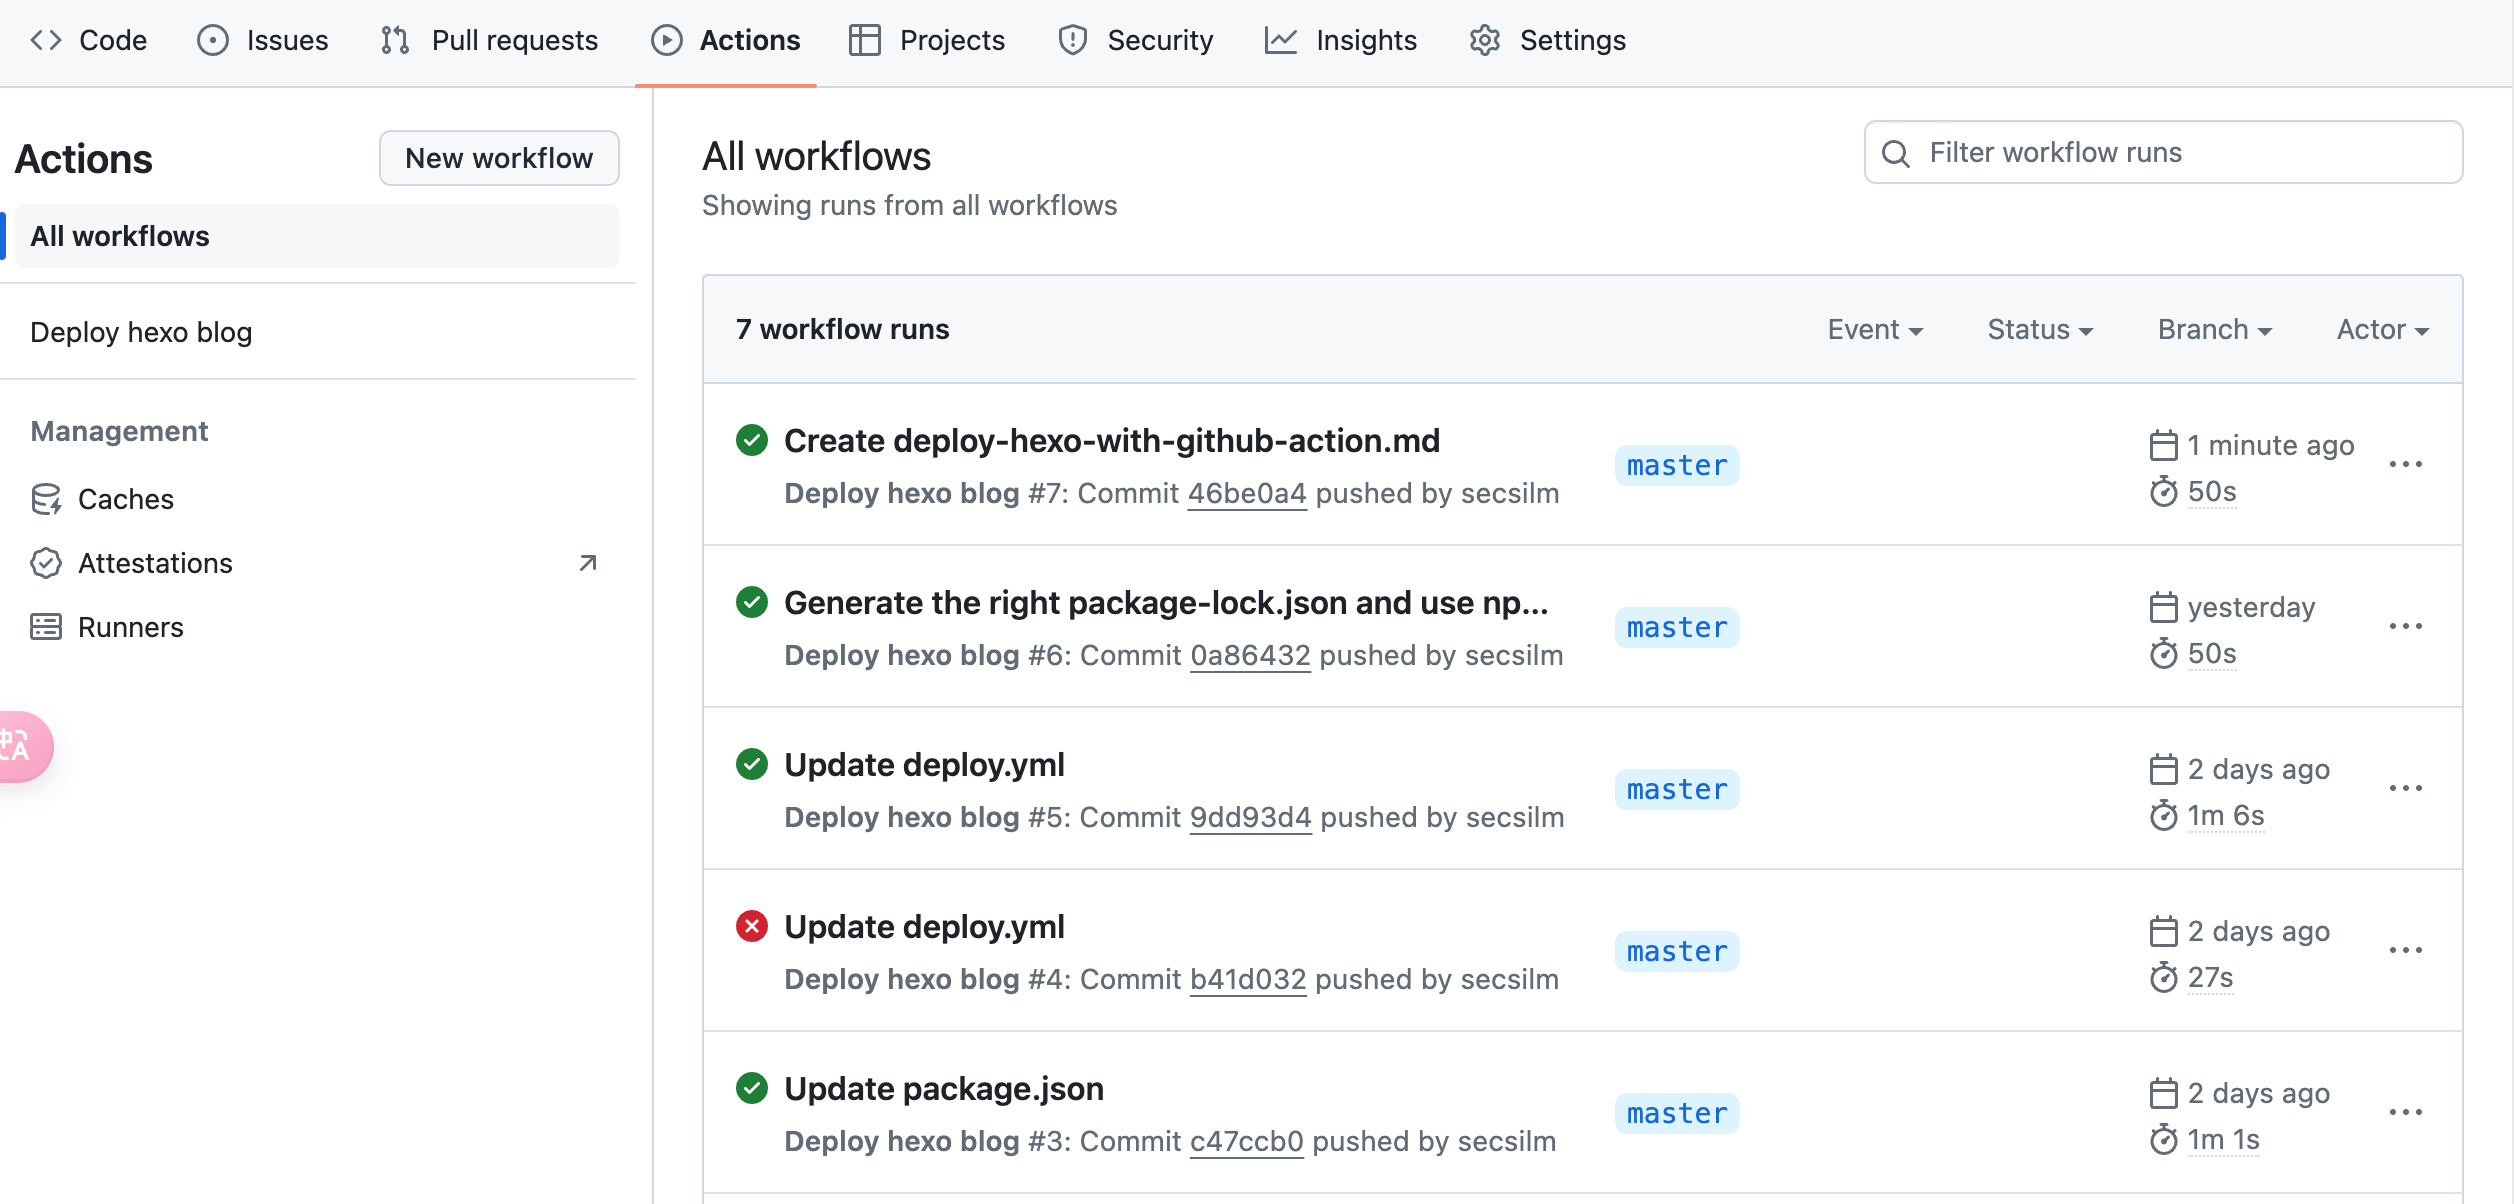 在 Actions 页面下查看运行记录。
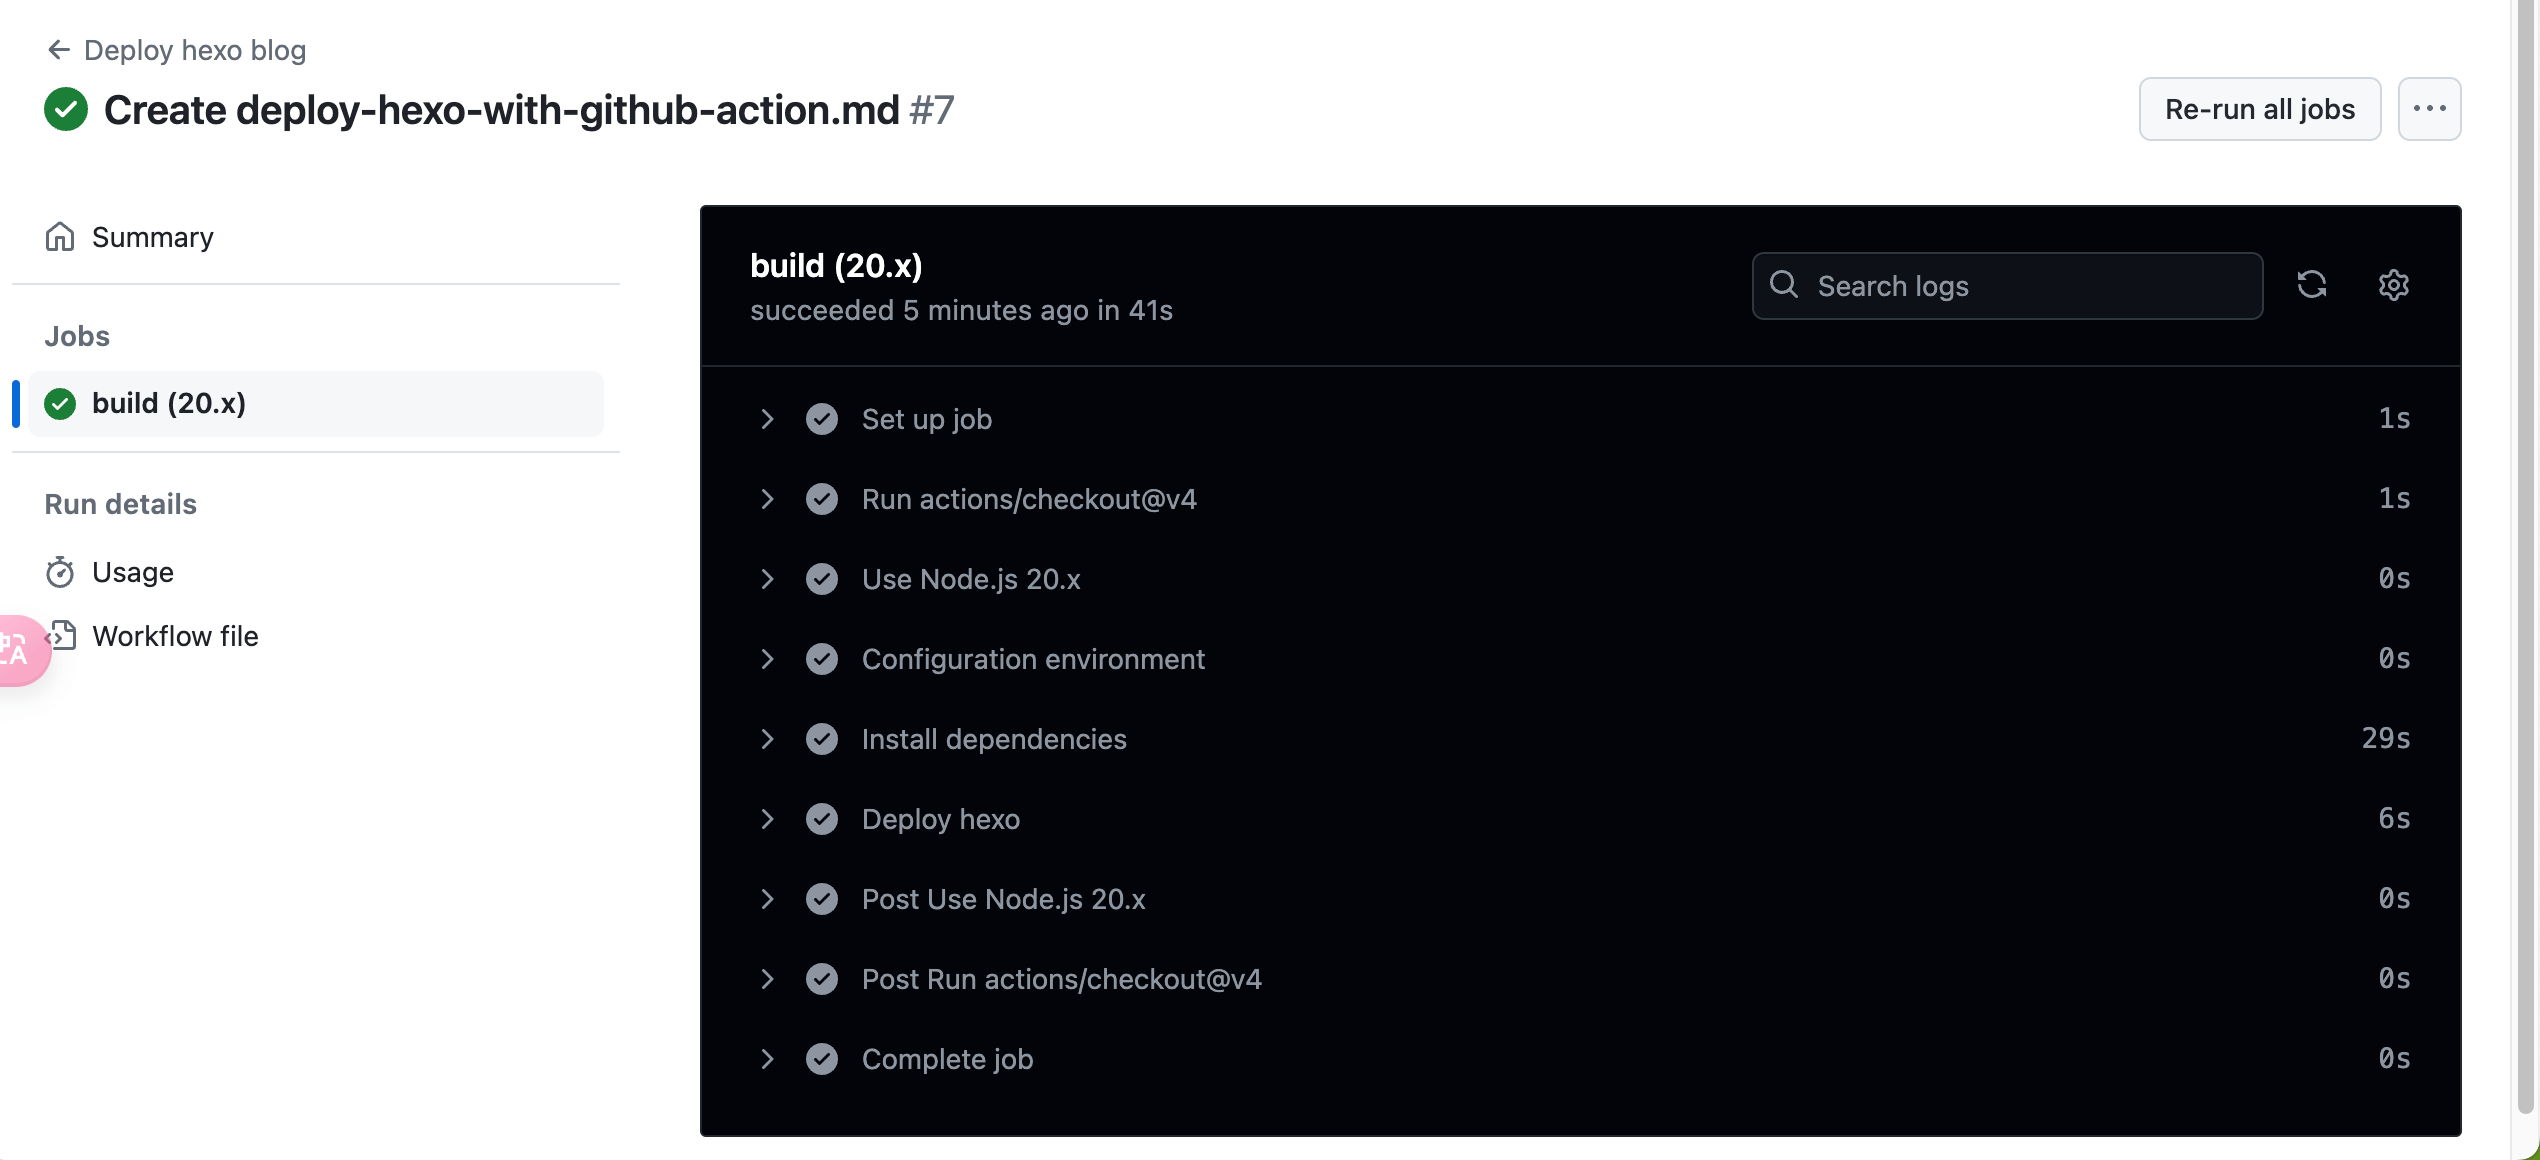 点进一个运行记录,可查看运行日志。
一些其他问题
执行成功,但 html 空白
我之前用的主题是好几年前的旧版本了,使用的也是很老的 node 版本(12?)。这次我先是直接使用了比较新的 20 版本。但是生成后发现 html 全是空白的。我 3 年前折腾的时候也遇到过这个问题,当时就是 node 和 hexo 版本不兼容,node 版本太高,然后选择降级 node。现在应该也是这个问题,但是这次我选择的是升级 hexo 版本(注意不是 hexo-cli 版本),hexo 与 node 的版本兼容关系见 Node.js 版本限制。
hexo 的版本在 package.json 里指定,你可以在里面找到你当前的版本,比如我当前就是 3.4.4 :
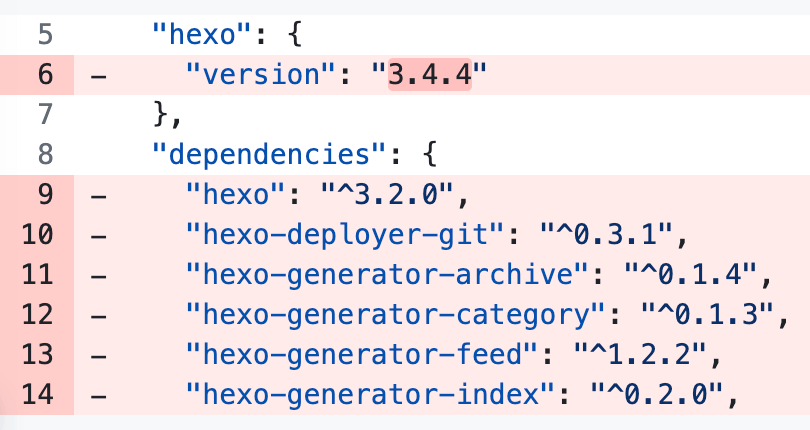 在 package.json 中检查你的 hexo 版本。
GitHub 上的一个 issue 讨论说 TA 直接升级 hexo 就行了,但是我想其他依赖可能也需要升级,所以直接用 hexo init 来生成一份最新的 package.json ,然后与我现在的进行对照合并,形成一个最新版本的依赖。然后 npm i 。
新的 package.json
1 | { |
对于主题的依赖,是按照文档直接安装最新版本,然后 npm i 。此外,如果你对主题做了一些改动,记得也要应用这些改动。记得先备份下主题的 _config.yml ,然后安装新版本后,将该文件替换掉。
最后 hexo d -g 验证下,应该就好了。
CNAME 和 ads.txt 空白
我的博客使用了自定义域名 alanlee.fun,第一次提交后发现通过这个域名访问不到了,显示不是 GitHub Page 站点,然后我通过 secsilm.github.io 却可以访问,这个就证明部署是没问题的,问题应该出在 CNAME 文件上。CNAME 文件用于指定自定义域名,里面写上你的域名即可,比如我的 alanlee.fun 。我点进去 prd 仓库看了下发现这个文件是空的,当时用于设置 Google ads 的 ads.txt 也是空的。
这就很奇怪了。按理说这些文件放在 dev 仓库根目录下的 source 里即可,我的也正常放置了。我 Google 了一圈发现有人说得放到主题目录下的 source 目录。说实话我有点不信,但是死马当活马医,我先把 CNAME 复制了一份到主题目录下的 source 目录,然后 hexo d -g ,结果发现还真有了,正常了。顺带着 ads.txt 也正常了,说明应该不是这个问题。不过我也没再继续深究,挺神奇的。
Reference
- Hexo + github actions 自動化部署 | Winnie’s blog
- 利用 GitHub Actions 实现自动化部署 Hexo 到 Github Pages
- 利用 Github Actions 自动部署 Hexo 博客 | Sanonz
- timezone - How to install tzdata on a ubuntu docker image? - Server Fault
- How to change time-zone settings from the command line - Ask Ubuntu
- About billing for GitHub Actions - GitHub Docs