
Ubuntu 18.04 安装 nvtop:一个高颜值的 nvidia-smi
目录
平常我们查看 GPU 信息,比如哪个进程在占用 GPU,占用了多少,GPU 利用率怎么样等信息,都是使用 nvidia-smi,但这些信息都是实时的,也就是说你无法查看一定时间段内的变化情况。
nvtop(NVIDIA TOP)是一个为 NVIDIA GPU 打造的、类 htop 的任务监视器,和 nvidia-smi 功能类似,但有着比 nvidia-smi 更漂亮的外观,也弥补了 nvidia-smi 不能查看一定时间段内 GPU 变化情况的缺陷。
先来看一张官方效果图:
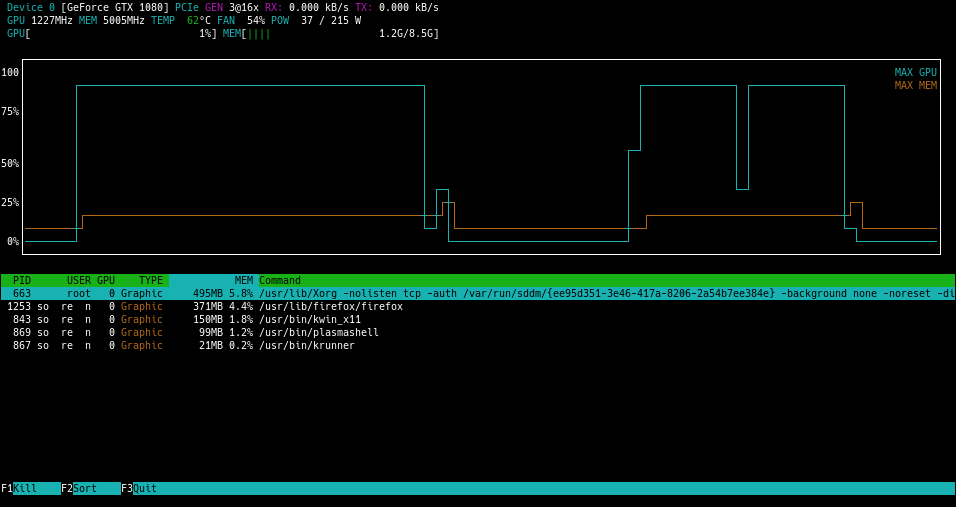 官方效果图
官方效果图我自己使用时的截图:
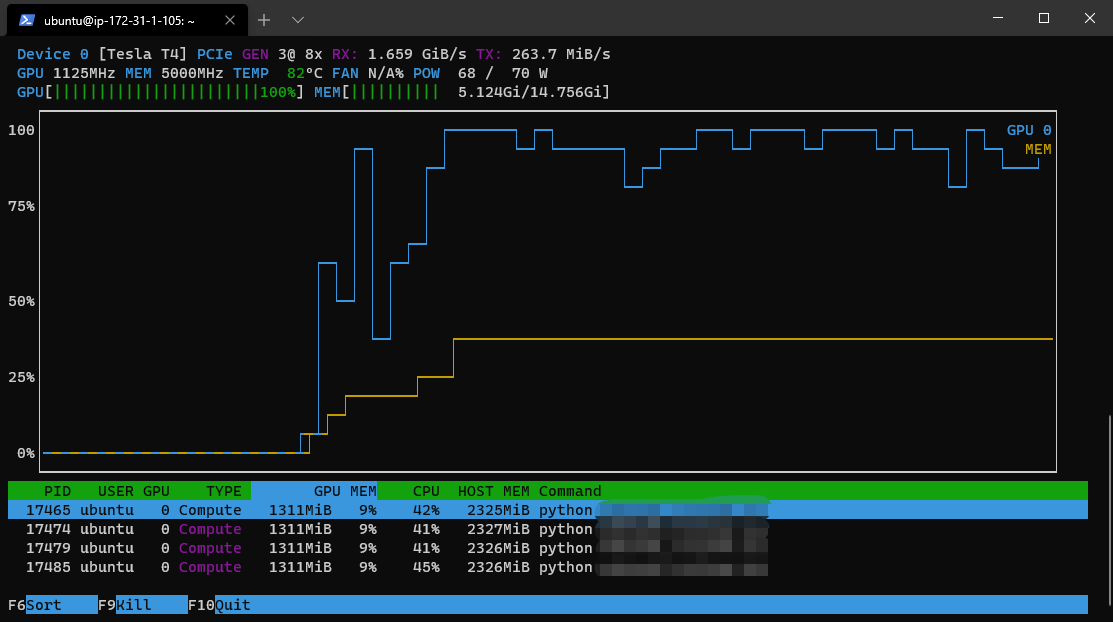 实际使用截图
那么你还满意的话,就接着看怎么安装吧。
安装
接下来的安装步骤针对的是 Ubuntu 18.04,16.04 估计也可以。
但如果你是 19.04,那很简单,一条命令即可:
1 | sudo apt install nvtop |
如果你的系统支持 snap(较新的 ubuntu 应该都有),那么可以使用 snap 安装,可以获得最新版本,上述 apt 方式似乎没有最新版本:
1 | sudo snap install nvtop |
1. 安装显卡驱动
这步我就不赘述了,我想大家应该都已经装好了。不会的话请参见 How to install the NVIDIA drivers on Ubuntu 18.04 Bionic Beaver Linux。
2. 安装 CMake、ncurses 和 git
1 | sudo apt install cmake libncurses5-dev libncursesw5-dev git |
3. 源码编译
在开始之前,如果你使用 conda 并且已经处在一个 conda 虚拟环境中,那么请先 conda deactivate 退出环境。
1 | git clone https://github.com/Syllo/nvtop.git |
至此就安装好了。
使用
通常来说,你只需要输入 nvtop 回车就行了,但是也有一些参数可以让你更改。
1 | $ nvtop --help |